How to Export with a Transparent Background in After Effects
By Tommy
Published June 19, 2023
 How to Export with a Transparent Background in After Effects
Adobe After Effects is a powerhouse in the world of video post-production. Renowned for its advanced features and user-friendly interface, it provides an ideal platform for creating high-quality animations, motion graphics, and visual effects. One of its features that often proves to be crucial in creating visually stunning pieces is the ability to export videos with a transparent background.
In this comprehensive guide, we'll delve deep into the steps to export After Effects with a transparent background. This feature is a game-changer for many creative projects, enhancing flexibility and versatility in video editing and compositing.
Getting Acquainted with Adobe After Effects
Before diving into the core of this guide, let's quickly brush up on the basics. Adobe After Effects is part of the Adobe Creative Suite, designed for creating visual effects and motion graphics. It offers a comprehensive array of tools for refining videos, animations, designing cinematic visual effects, and more. It's a favorite among professionals in the film and TV industry, used for everything from simple title sequences to full-scale visual effects sequences.
The Importance of Transparent Backgrounds
Having the ability to export compositions with transparent backgrounds (also known as "alpha channels") unlocks a world of flexibility. You can layer these compositions over other videos, animations, or backgrounds without any pesky blocky backgrounds. This is particularly useful for creating lower thirds, overlays, logos, and other graphic elements that you want to superimpose on other content.
How to Export After Effects with a Transparent Background: A Step-by-Step Guide
To successfully export an After Effects composition with a transparent background, follow the steps outlined below:
Step 1: Set Up Your Composition
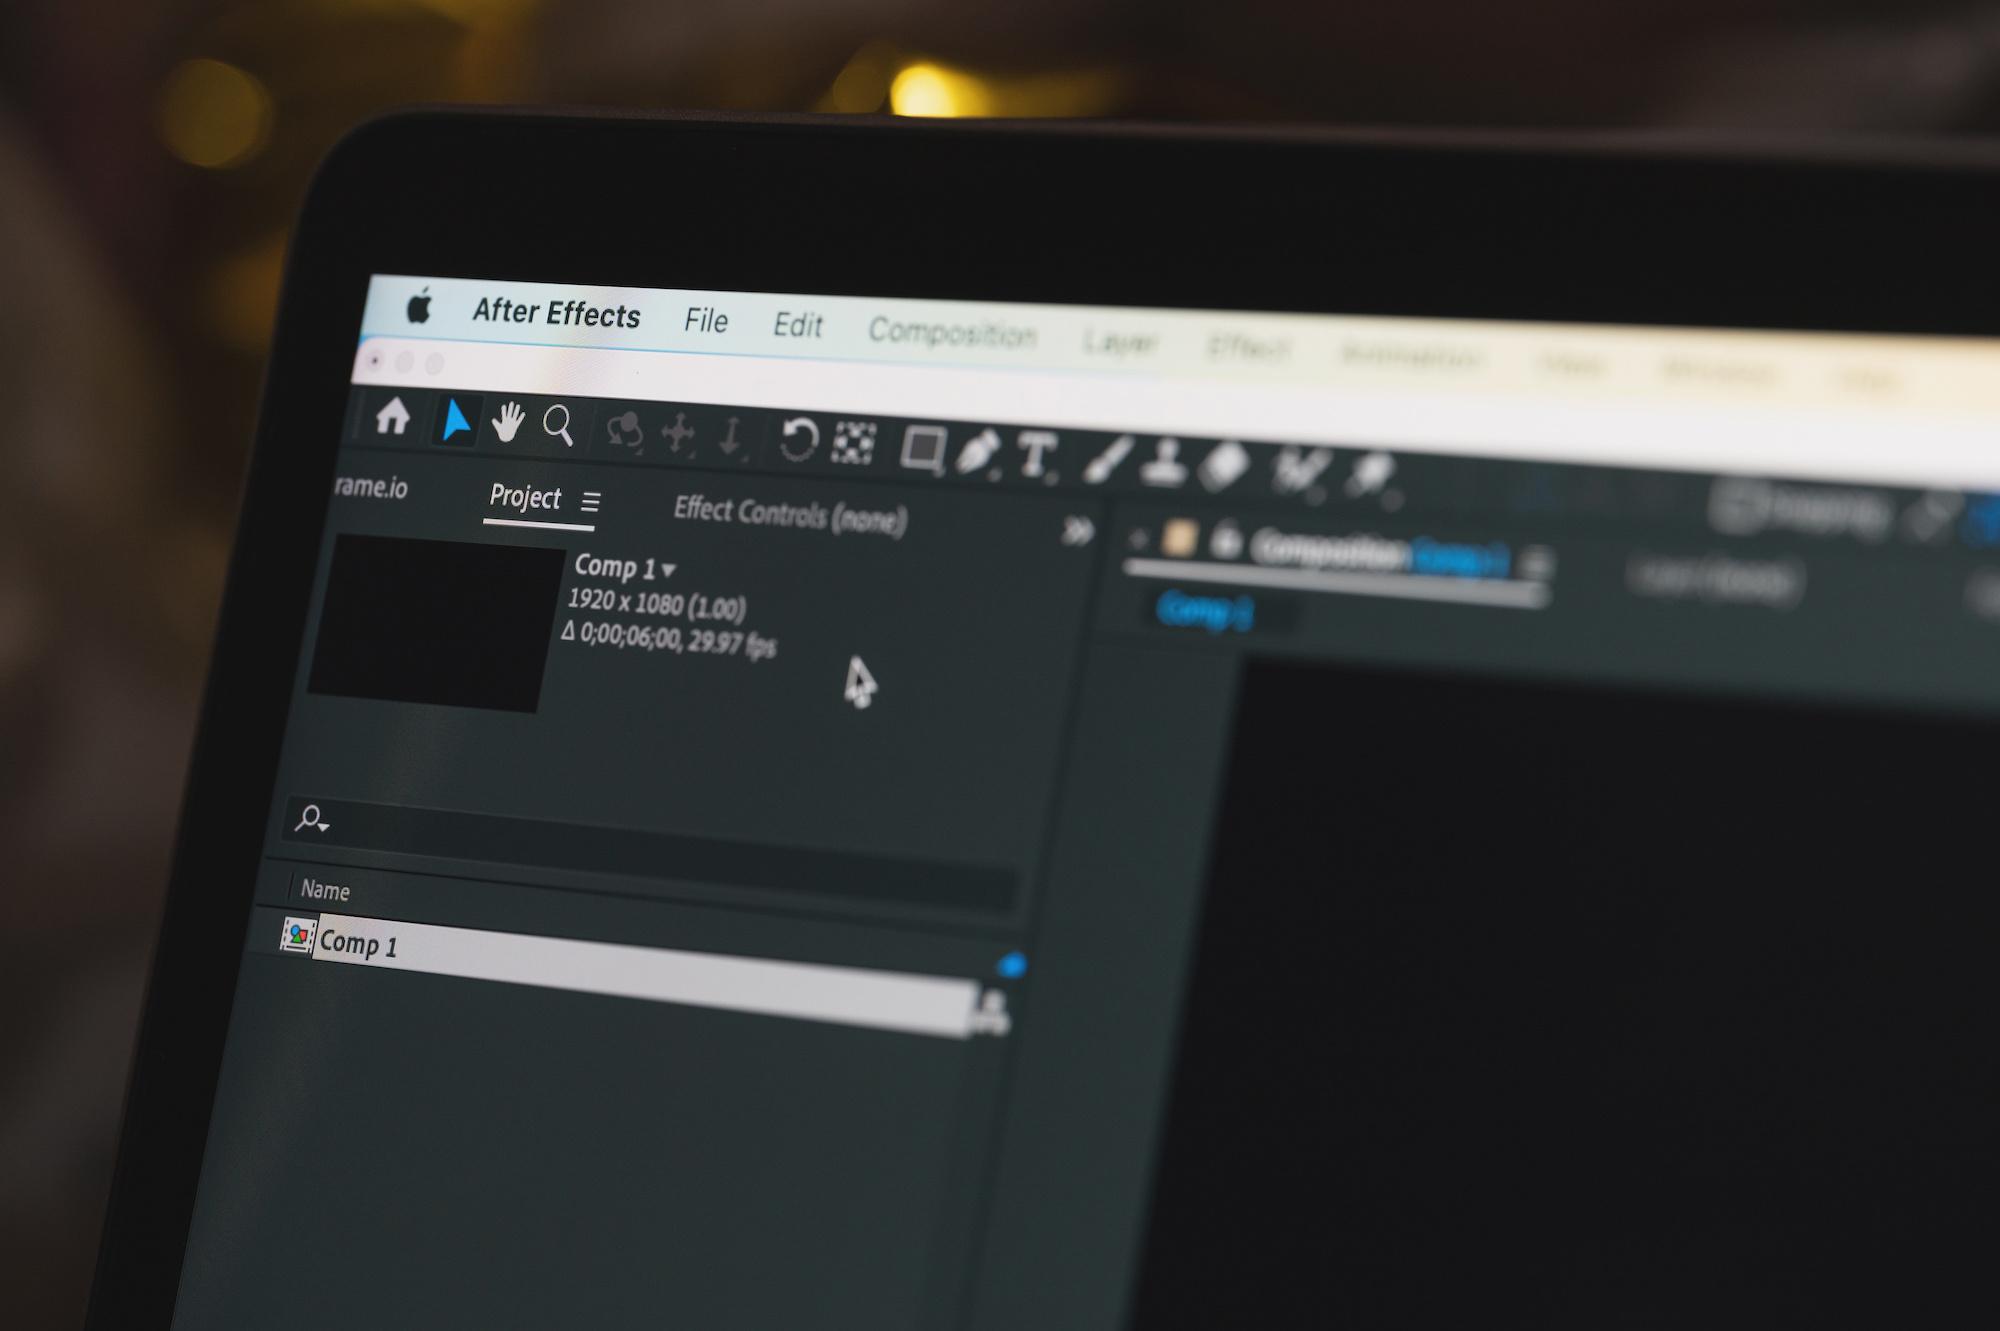
Open Adobe After Effects and start a new project. Import the files you want to include in your project. Create a new composition by going to Composition > New Composition.
Step 2: Confirm Your Composition Has a Transparent Background
Check your composition's background to ensure it's transparent. If your composition has a black background, you need to change it to transparent. To do this, navigate to Composition > Composition Settings > Background Color and set it to transparent (the checkerboard pattern).
Step 3: Add Your Content
Add your content to the composition timeline, whether it's animations, graphics, text, or other visual elements. Remember, anything that is in the checkerboard area will be transparent in the final video.
Step 4: Render Your Video with a Transparent Background
Once your composition is set up and ready to go, you can render your video. Go to Composition > Add to Render Queue.
Under the Render Queue tab, find the Output Module and click on the 'Lossless' text. In the Output Module Settings dialog box, under Video Output, ensure that Channels is set to 'RGB + Alpha'. This ensures that your video retains the transparent background.
Step 5: Choose Your Output Format
Still in the Output Module Settings, under Format, select QuickTime. This format supports transparency.
Step 6: Render Your Composition
Finally, click OK and then Render. Your video will now be rendered with a transparent background. Please note that if you're exporting for a specific platform or project, you should verify the preferred settings and formats with your project lead or specifications provided.
Additional Tips: Using the Adobe Media Encoder
If you're planning to use the transparent video in another Adobe software (such as Adobe Premiere Pro), you might prefer to export your project using the Adobe Media Encoder. This allows you to continue working in After Effects while your compositions render in the background.
To do this, instead of selecting Composition > Add to Render Queue, choose Composition > Add to Adobe Media Encoder Queue. In the Media Encoder, apply similar settings as mentioned above (Format: QuickTime, Channels: RGB + Alpha) to ensure your video exports with a transparent background.
Conclusion
Mastering the art of exporting compositions with transparent backgrounds in After Effects is an essential skill in your video editing toolkit. It opens up a world of possibilities for adding overlays, lower thirds, and other elements to your videos, making them more engaging and professional. Remember, practice makes perfect. So, don't be afraid to experiment and try out different settings to find what works best for your specific project.
Frequently Asked Questions
Why can't I see the transparent background when I import my video into a different software?
Not all software supports video transparency. Make sure to import your video into software that supports the 'Alpha Channel', which holds the transparency information.
What are some uses of transparent background videos?
Transparent background videos are perfect for logos, lower thirds, titles, and other graphic overlays that you want to place on top of other video content.
Why is my file size so large when I export with an alpha channel?
Exporting with an alpha channel can increase the file size, as more data (transparency information) is being stored. If file size is a concern, consider adjusting your codec or compressing your video.
Why should I use Adobe Media Encoder for exporting?
Adobe Media Encoder allows you to export your projects in the background, freeing up After Effects for you to continue working on other compositions.
Can I export a transparent video in a format other than QuickTime?
While QuickTime is a popular choice, other formats also support alpha channels. These include ProRes 4444, Avid DNxHR, and Avid DNxHD. Always check the specifications of your project or the platform you're exporting for to ensure compatibility.