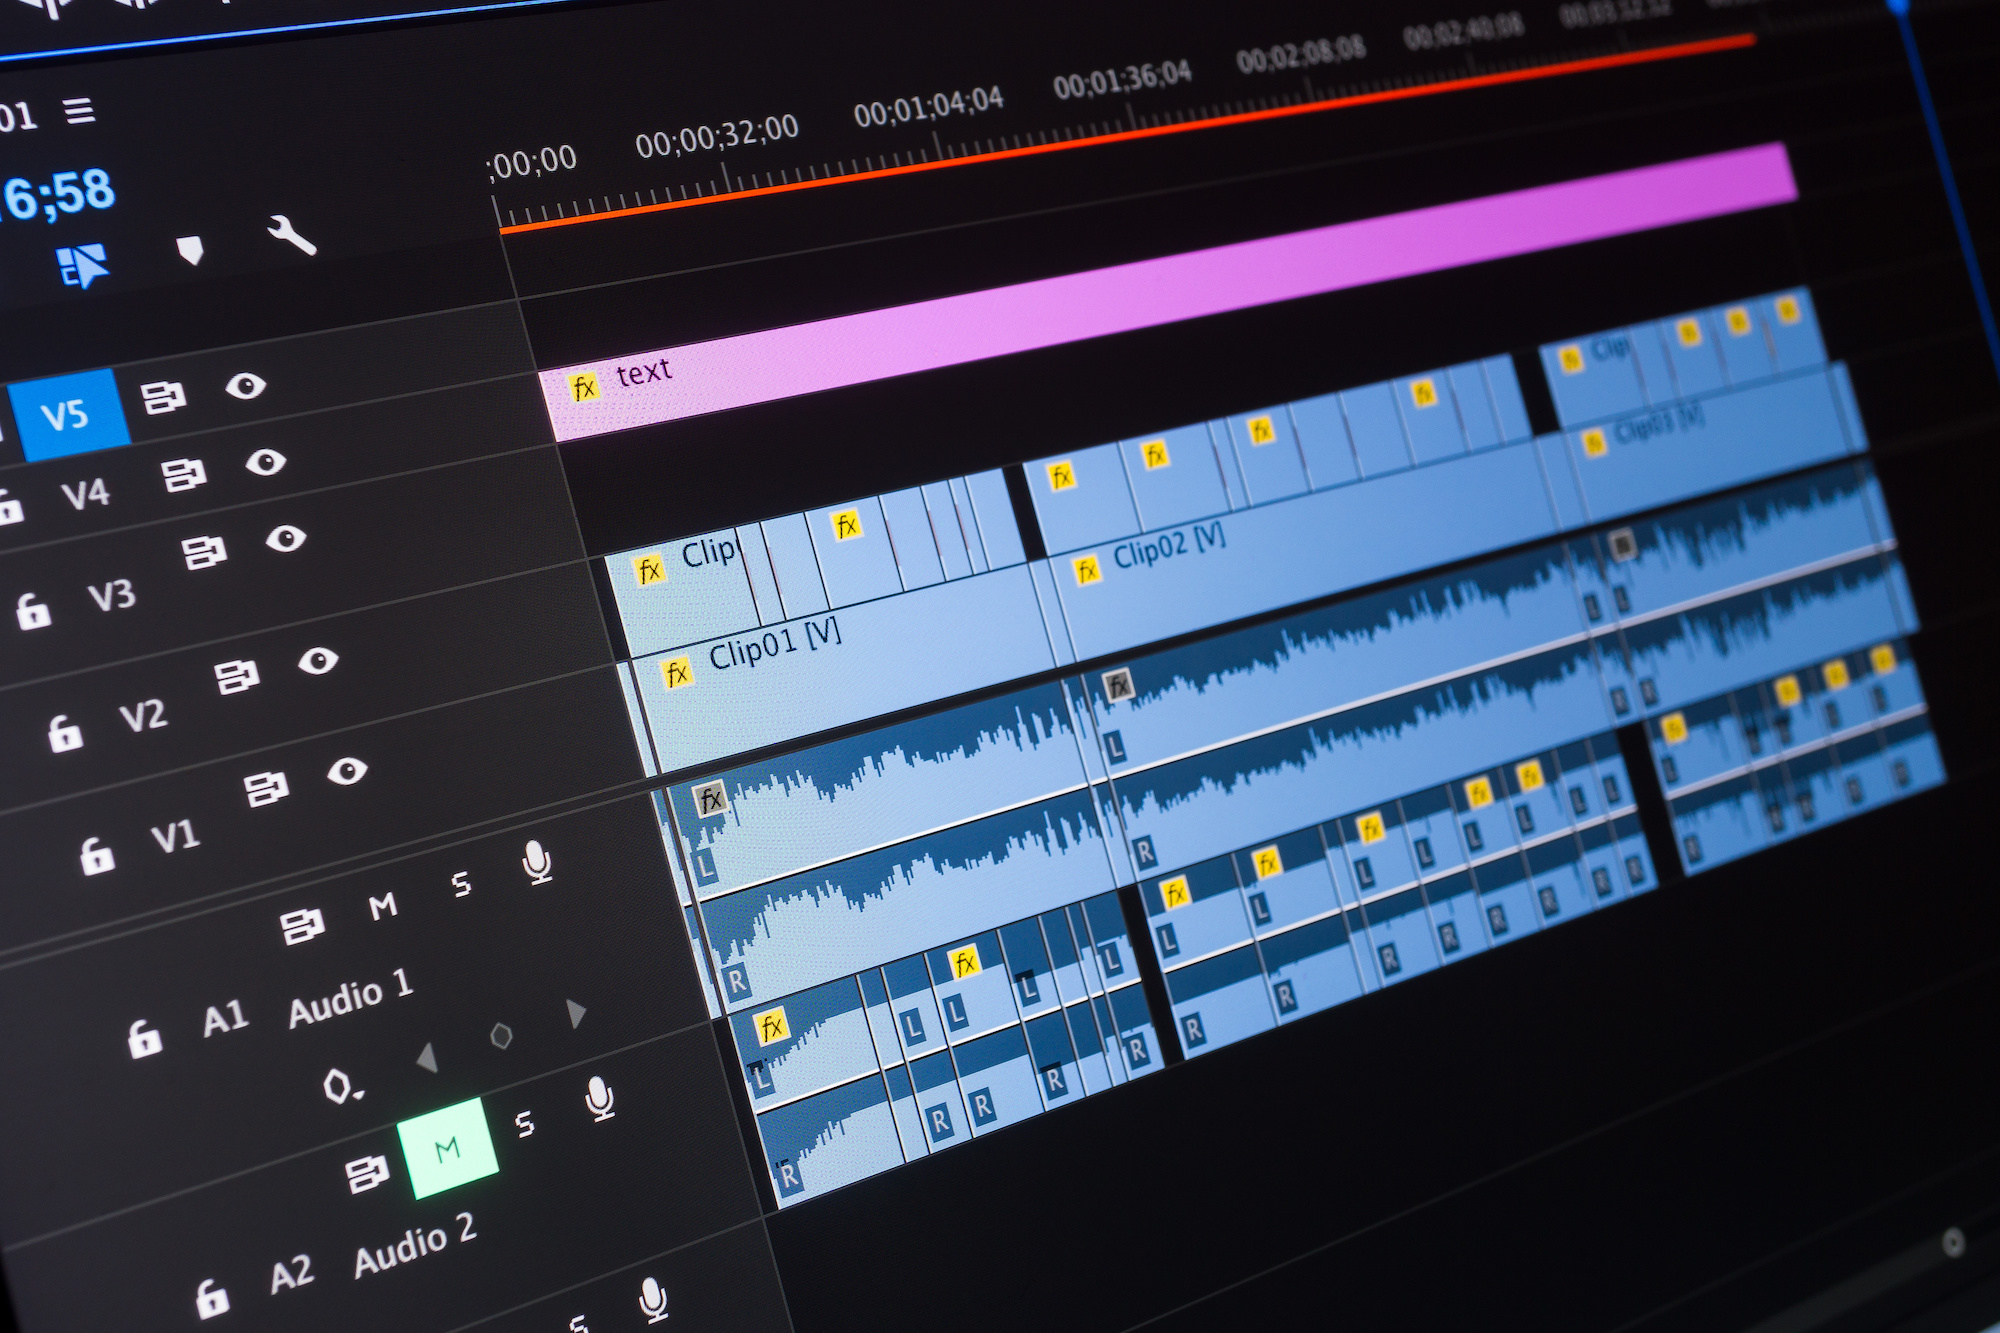
Adobe Premiere Pro is a leading video editing software with an extensive suite of audio editing tools, making it a top choice for both video and sound editing needs. Among its numerous features is the capacity to remove background noise.
Whether you're working with footage that has been marred by wind noise, or you're dealing with a persistent hiss or hum from an indoor recording, learning how to handle these sound issues can vastly improve the overall quality of your final video.
In this comprehensive guide, we'll show you step-by-step how to remove background noise in Premiere Pro, helping you create cleaner and more professional audio.
Emphasizing Sound Quality
Often in the world of video editing, it's easy to focus so much on the visual elements that we forget the critical role of audio. Yet, good audio can enhance the viewer's engagement, while poor audio can distract and even irritate your audience. Hence, removing unwanted background noise is an essential step in the post-production process.
Getting Started: How to Remove Background Noise in Premiere
Now, let's dive into the step-by-step process of noise reduction in Adobe Premiere Pro:
Step 1: Import Your Footage
Open Premiere Pro and import your video file by going to File > Import.
Step 2: Create a New Sequence
To create a new sequence, right-click on the imported video file and select New Sequence From Clip.
Step 3: Identifying the Noise
Before you can remove the noise, you must identify it. Play your clip and listen for any persistent sounds you want to remove.
Step 4: Navigate to the Essential Sound Panel
The Essential Sound panel is a user-friendly tool that simplifies complex audio mixing tasks. Navigate to the Essential Sound panel by selecting Window > Essential Sound.
Step 5: Assign the Audio Type
In the Essential Sound panel, assign the audio type that matches your clip. This could be Dialogue, Music, SFX, or Ambience. If you're working with spoken words, select Dialogue.
Step 6: Repair the Noise
With your audio type selected, you will see a list of audio editing features. Under the Repair section, you’ll find Reduce Noise and Reduce Reverb. Adjust these sliders until the unwanted noise is significantly diminished.
Step 7: Fine-Tune Noise Reduction
The Reduce Noise and Reduce Reverb sliders are great for making broad adjustments, but for a more refined approach, use the Edit button next to them. This will open up the DeNoise and DeReverb effects in the Effects Control panel where you can make more detailed adjustments.
Step 8: Check Your Progress
Always review the changes by playing your clip. Be careful not to over-adjust the sliders, as it can make the audio sound unnatural. The goal is to strike a balance between reducing the noise and maintaining the natural sound quality.
Step 9: Export Your File
Once you're satisfied with the audio, it's time to export your project. Go to File > Export > Media. In the Export Settings dialog box, choose your desired format and preset, and then click on the Export button.
Beyond the Basics: Other Techniques for Noise Reduction
Premiere Pro also offers more advanced tools for noise reduction:
- Sound Effects and Transitions: The Effects tab in Premiere Pro includes noise reduction tools like Adaptive Noise Reduction and Parametric Equalizer.
- Audio Track Mixer: The Audio Track Mixer allows you to apply effects to entire tracks, which is useful if you have consistent noise across your entire audio track.
- Third-Party Plugins: You can also use third-party plugins for more advanced noise reduction. Some popular options include RX7 by iZotope and ERA Noise Remover by Accusonus.
Conclusion
Removing background noise from your audio files in Adobe Premiere Pro is a critical skill for any video editor. With this detailed guide, you can now navigate the process with ease and deliver high-quality sound in your video projects.
Frequently Asked Questions
Is it better to remove noise in Premiere Pro or Adobe Audition?
Both are powerful tools for noise reduction, but Audition has a more comprehensive set of audio editing tools. If you're already working in Premiere Pro and the noise issue is not overly complex, you might find it easier to use Premiere.
Can I completely remove all background noise using Premiere Pro?
While Premiere Pro's noise reduction tools are robust, some noises may not be entirely removable without degrading the overall audio quality. It's about finding the right balance.
Why can’t I see the Essential Sound Panel on my screen?
If the Essential Sound panel is not visible, go to the Window menu and select Essential Sound.
Can I prevent background noise while recording instead of removing it later?
Yes, using good quality microphones, pop filters, windshields, and recording in a quiet environment can significantly reduce the amount of background noise captured.
Does Premiere Pro support third-party audio plugins?
Yes, Premiere Pro supports VST (Windows) and AU (Mac) plugins, allowing you to use third-party tools for advanced noise reduction.


