How to Make PNG Images with Transparent Backgrounds
By Charlie
Published March 19, 2024
 How to Make PNG Images with Transparent Backgrounds
Creating PNG images with transparent backgrounds is a versatile skill that significantly enhances your graphic design capabilities, whether you're designing a logo, creating web graphics, or preparing images for a presentation. Transparent backgrounds allow your images to blend seamlessly with any background color or texture, providing a clean, professional look. This guide will walk you through the steps to achieve this using various tools and techniques, ensuring your images stand out with a degree of creativity and professionalism.
Step-by-Step Guide to Creating Transparent PNGs
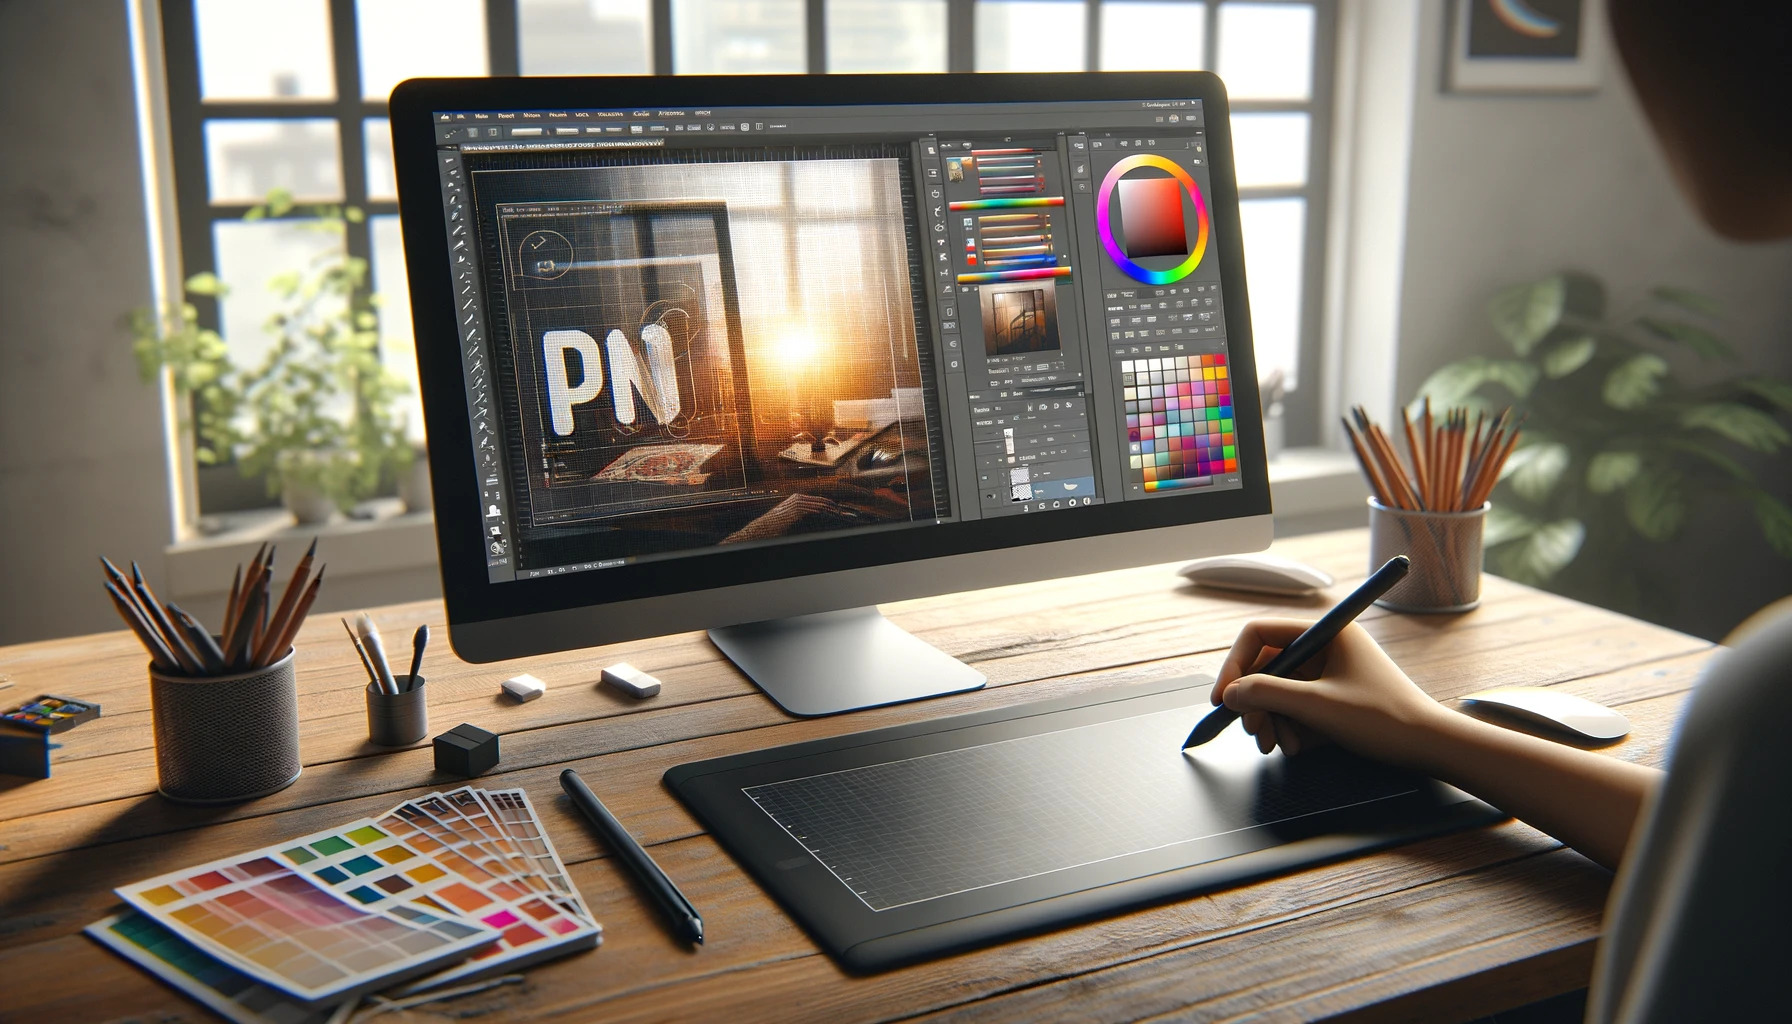
Multiple tools are available for PNG creation, ranging from professional software like Adobe Photoshop and Illustrator to free online tools. Depending on your platform, whether you're looking to create PNG on Mac or create PNG on Windows, there are native solutions and third-party applications available. Let's explore some methods across different platforms and tools.
1. Using Image Editing Software
Adobe Photoshop
- Open your image in Photoshop.
- Select the Magic Wand Tool from the toolbar.
- Click on the background to select it.
- Press Delete to remove the background.
- Go to File > Save As and choose PNG format, ensuring Transparency is checked.
GIMP (GNU Image Manipulation Program)
- Open your image in GIMP.
- Select the Fuzzy Select Tool (Magic Wand).
- Click on the area you wish to make transparent.
- Choose Layer > Transparency > Add Alpha Channel.
- Press Delete to remove the selected area.
- Export the image as PNG with File > Export As.
Illustrator
- Launch your project in Illustrator.
- Design your image. Since vectors don't inherently have a background, you're already on track to transparency.
- When you’re ready, go to File > Export > Export As, select PNG, and make sure to choose the option for a transparent background.
2. Using Online Tools
Canva
- Create or open a design in Canva.
- Upload your image and add it to the canvas.
- Click on the image and select Effects > Background Remover.
- Once the background is removed, download the design as a PNG file, ensuring the transparency option is enabled.
Wallpapers Background Removal Tool
- Visit Wallpapers background removal tool.
- Upload your image.
- The tool automatically removes the background.
- Download the image in PNG format with a transparent background.
3. Using Mobile Apps
Background Eraser (Android/iOS)
- Open the app and select your image.
- Use the Eraser tool to manually remove the background or the Auto mode for automatic removal.
- Save your image as a PNG file.
Adobe Photoshop Express (Android/iOS)
- Launch the app and import your image.
- Tap on Cut Out and select the Automatic removal tool.
- Adjust the edges if necessary.
- Save your image as a PNG file with a transparent background.
4. Using Different Operating Systems
Create PNG on Mac
- Open your image in Preview.
- Click the Markup toolbar button, then click the Instant Alpha button.
- Drag to select the background, then press Delete.
- Export the image as a PNG.
Create PNG on Windows
- Open Paint 3D and import your image.
- Use the Magic Select tool to remove the background.
- Save the image as a PNG, ensuring transparency is preserved.
Best Practices for Transparent PNGs
- Maintain High Resolution: Always start with the highest resolution image possible to ensure quality isn't compromised during the editing process.
- Zoom In for Detail: When manually removing backgrounds, zoom in for precision. Small details can make a big difference in the overall quality.
- Feather Edges: Soften the edges of your cut-out image to ensure it blends well with any background.
- Check Compatibility: Ensure the platforms where you plan to use the image support transparency. Not all web and software environments do.
- Optimize File Size: Transparent PNGs can be large. Use online tools like TinyPNG to reduce file size without significant quality loss.
Creative Uses of Transparent PNGs
- Logos: Perfect for websites, business cards, and merchandise, allowing the logo to overlay any background seamlessly.
- Web Design: Use transparent images for buttons, icons, and other web elements to integrate smoothly with the site's design theme.
- Presentations: Enhance slides with transparent images to make your presentations look more professional and less cluttered.
- Marketing Materials: Create eye-catching brochures, flyers, and posters with images that blend perfectly with your design.
Conclusion
Mastering the creation of PNG images with transparent backgrounds opens up a world of design possibilities. Whether you're a professional designer or a hobbyist looking to enhance your projects, the ability to create clean, seamless images is invaluable. By following the steps outlined in this guide, utilizing both software and online tools, you can achieve professional-quality results with ease. Embrace the creativity and flexibility that transparent PNGs offer, and watch your designs elevate to new heights.