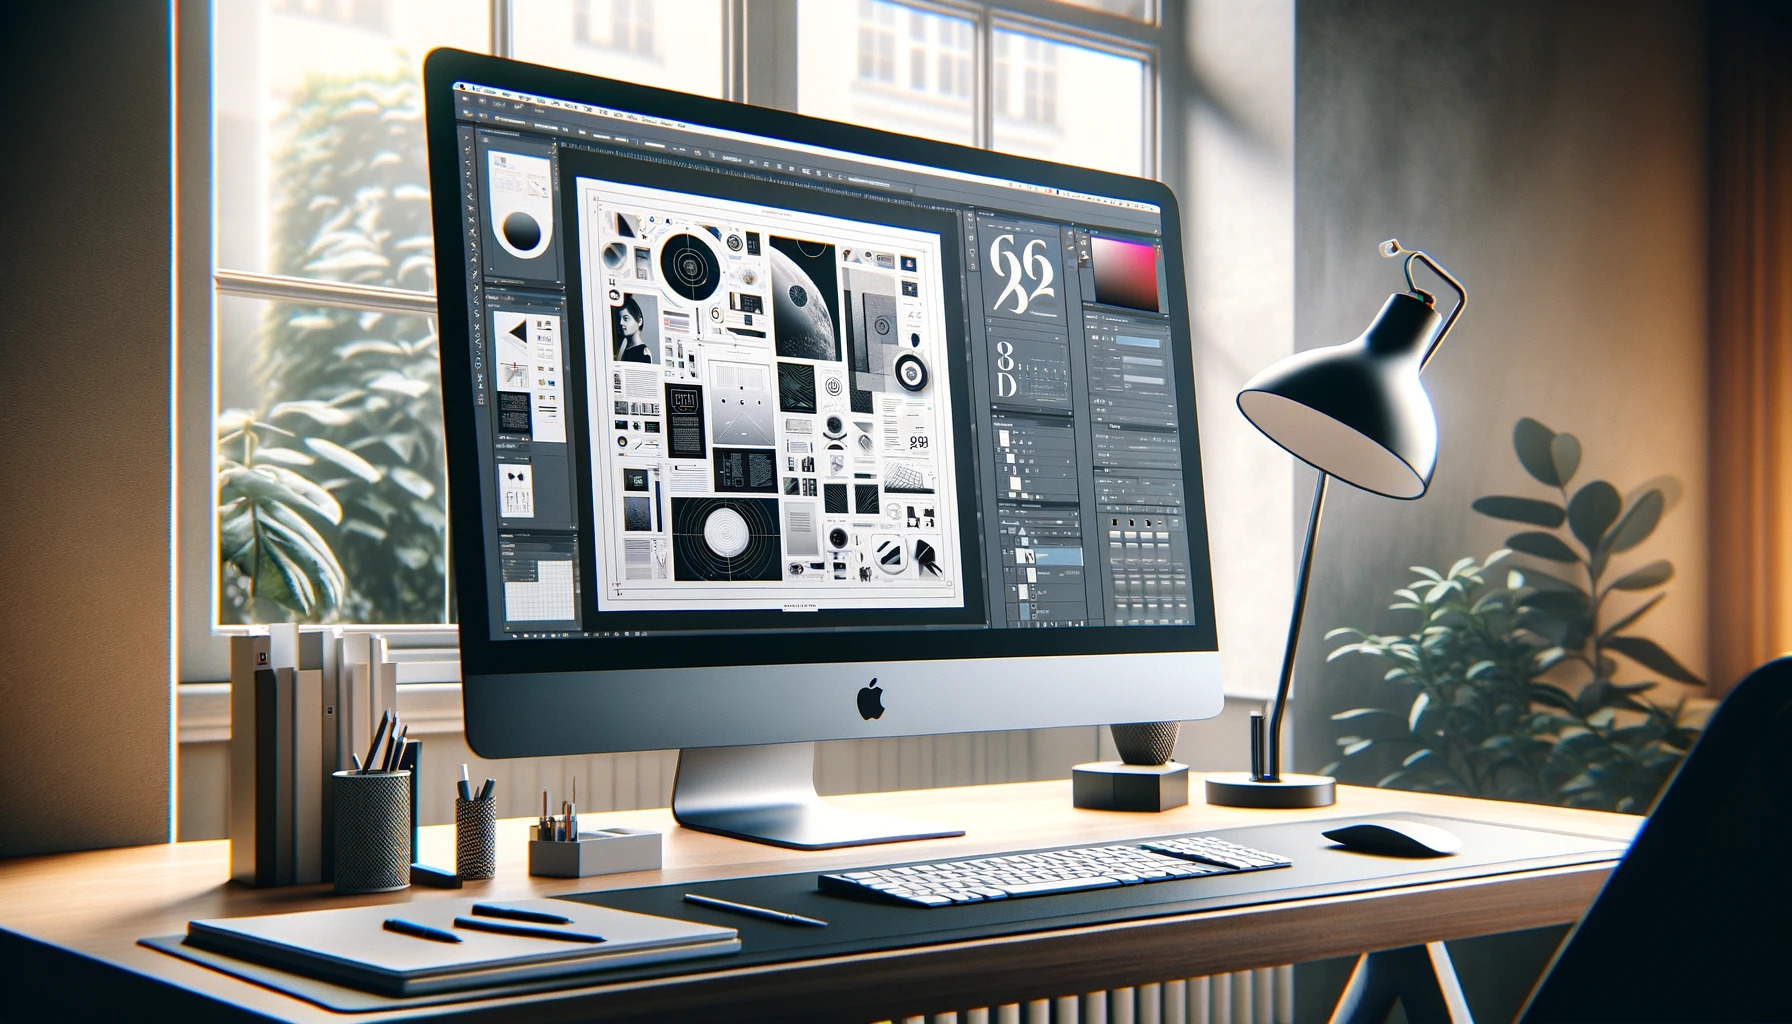
How to Remove Background in Adobe InDesign
By Carlos
Published February 23, 2024
 How to Remove Background in Adobe InDesign
Removing the background from images is a common task in graphic design, especially when you're trying to create clean, professional-looking documents. While Adobe InDesign might not be the first software that comes to mind for image editing—since it's primarily used for layout design—it offers a range of capabilities that can help you achieve this effect indirectly. In this article, we'll dive into the process of removing backgrounds in Adobe InDesign, exploring creative solutions and tips to streamline your workflow. Let's transform your designs with a touch of creativity and professionalism!
Introduction: The Magic of a Background-Free Image
Imagine placing a stunning image in your latest brochure or flyer, only to realize the background doesn't fit with your design. Removing backgrounds in image editing software is a skill that every designer needs, but what do you do when you're working directly in Adobe InDesign? Fear not, as we guide you through the steps to achieve that seamless look, even without direct image editing tools.
Step-by-Step Guide to Removing Backgrounds in Adobe InDesign
Adobe InDesign doesn't directly remove backgrounds from images. However, with a few creative workarounds, you can achieve the desired effect. Here's how:
1. Leverage Adobe Photoshop
Remove the image background in Adobe Photoshop before importing it into InDesign. Photoshop offers advanced tools for removing backgrounds with precision. Once you have your image ready:
- Open the image in Photoshop.
- Use the 'Quick Selection Tool' to select the background.
- Click 'Select and Mask' to refine the edges.
- Hit 'Delete' to remove the background.
- Save your image as a PNG to preserve transparency.
2. Utilize Clipping Paths
If the image already comes with a clipping path from Photoshop:
- Place the image in InDesign.
- Select the image with the 'Selection Tool'.
- Go to 'Object' > 'Clipping Path' > 'Options'.
- Choose 'Photoshop Path' from the Type dropdown.
- This method uses the path created in Photoshop to clip the background in InDesign.
3. Masking with Frames
For simpler backgrounds or when you're in a pinch:
- Use the 'Pen Tool' in InDesign to draw a shape around the subject.
- With the shape selected, go to 'File' > 'Place' and select your image.
- This technique masks the image with the shape, simulating a background removal.
4. Remove Background in Canva as an Alternative
For those who prefer a more straightforward tool or lack access to Photoshop, Canva offers a simple 'Background Remover' tool. Remove the background in Canva, download the image, and then place it into your InDesign document.
Creative Applications: Beyond the Basics
With the background removed, your image is now ready to be a star in your InDesign project. Here's how to upscale and integrate it creatively:
1. Upscale Images for High-Quality Prints
Ensure your image doesn't lose quality by upscaling it if necessary before importing it into InDesign. Tools like Adobe Photoshop can help you upscale the image without compromising on clarity.
2. Text Wrap Elegance
- With the background removed, wrapping text around your subject becomes seamless.
- Select the image and choose 'Window' > 'Text Wrap'.
- Experiment with different wrap options to see how your text can dynamically interact with the image.
3. Layering for Depth
- Place your transparent image over colored backgrounds or other images to create depth.
- Use the 'Effects' panel to add shadows or glows, enhancing the three-dimensional feel.
4. Animation for Interactive PDFs
- InDesign's interactive features allow you to animate your image for digital publications.
- Select the image and use the 'Animation' panel to add effects like fades or fly-ins.
Best Practices for Flawless Execution
To ensure your project's success, keep these tips in mind:
- Quality First: Always start with the highest resolution image possible to avoid pixelation.
- Keep Originals: Save your original images before making alterations, just in case.
- Experiment: Don't be afraid to try different techniques to see what works best for your design.
- Efficiency: Use shortcuts and presets to speed up your workflow without sacrificing quality.
Conclusion: Unleashing Your Creative Potential
Removing backgrounds in Adobe InDesign requires a bit of creativity and a willingness to explore different tools. While InDesign itself may not offer a direct way to remove backgrounds, integrating it with software like Adobe Photoshop or Canva opens up endless possibilities. By following the steps outlined above, you're well on your way to creating clean, professional designs that stand out. Remember, the key to mastering design is not just knowing how to use the tools but understanding how to creatively solve problems. Happy designing!