In the dynamic realm of digital artistry and graphic design, mastering the art of background manipulation is a cornerstone skill that significantly amplifies the visual appeal and adaptability of your creations. Among the myriad techniques available, the ability to remove a background and render it transparent is particularly transformative. This capability is crucial, whether for aspiring artists, seasoned designers, or anyone aiming to infuse their digital projects with a touch of professionalism. The process of making backgrounds transparent using different applications not only enhances the aesthetics but also ensures seamless integration of your artwork across various media. FireAlpaca, with its user-friendly interface and no-cost access, emerges as a beacon for those seeking to navigate the intricacies of transparent backgrounds. Embarking on this journey will unfold a wealth of creative potential, ready to be explored and mastered.
Step-by-step Guide on How to Make Transparent Background in FireAlpaca
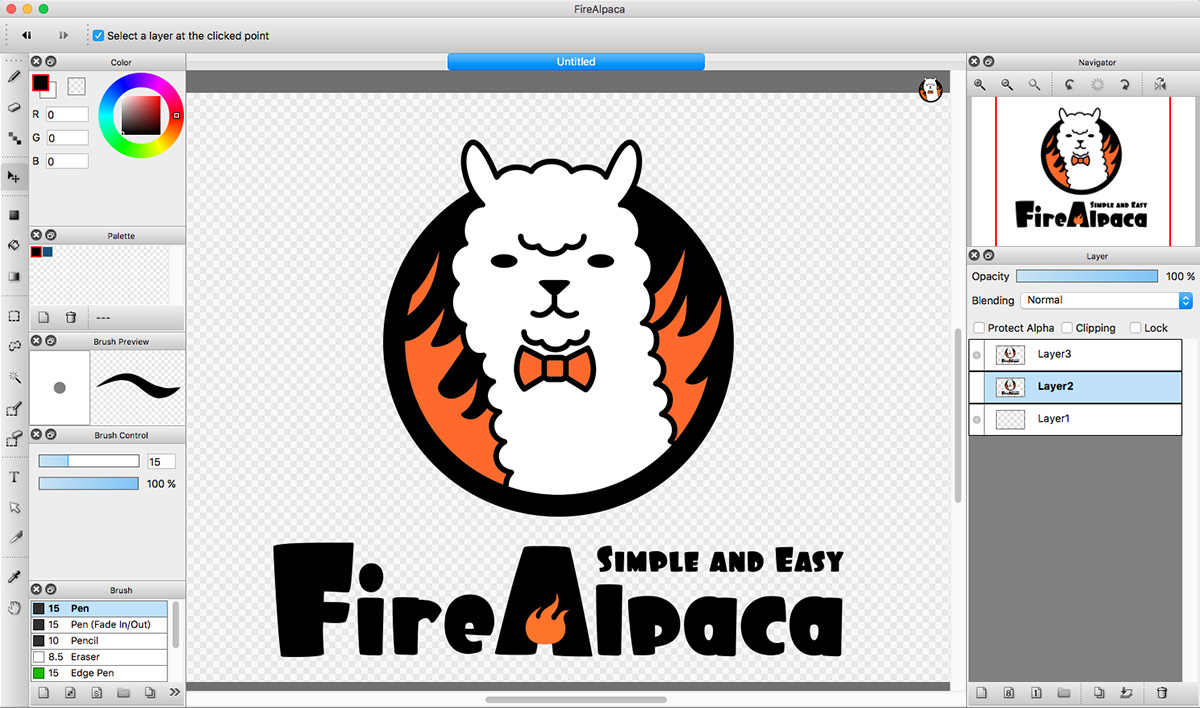
Step 1: Launch FireAlpaca
Start by opening FireAlpaca on your computer. The main workspace will appear, and you are ready to begin.
Step 2: Create or Open an Image
You have two options:
- To create a new image with a transparent background, go to 'File' > 'New'. Ensure the 'Background' dropdown is set to 'Transparent' and click 'OK'.
- To open an existing image, go to 'File' > 'Open' and select your image.
Step 3: Make the Background Transparent
If you're working with an existing image:
- Select the 'Magic Wand' tool from the tool menu.
- Click on the areas of the background you want to make transparent. Adjust the 'Select' dropdown and 'Color margin' slider to refine your selection if needed.
- Press 'Delete' on your keyboard.
The selected areas should now show a grey and white checkerboard pattern, indicating transparency.
Step 4: Save the Image
Once you've achieved the desired transparency:
- Go to 'File' > 'Save As'.
- For PNG format, select 'PNG' as the file type to maintain transparency.
- Select the destination and save your file.
Congratulations! You've successfully made a transparent background in FireAlpaca. If you're working on graphics that require scalability without losing quality, consider saving as 'SVG' for vector-based images.
Potential Issues & Troubleshooting Tips
You may run into some challenges while making a transparent background in FireAlpaca. Here are some common issues and solutions:
- Magic Wand Tool Not Selecting Correctly: If the Magic Wand tool is not selecting the desired areas, you can adjust the 'Color margin' slider in the tool settings to change its sensitivity.
- Transparency Not Showing: If the transparency doesn't show after deleting a selection, ensure you have no layers beneath the one you're working on that could be showing through.
Expanding Beyond FireAlpaca
Diving into the world of digital design doesn't stop with FireAlpaca. The vast digital landscape is dotted with a plethora of tools, each offering unique features to cater to diverse design needs and preferences.
For enthusiasts keen on broadening their horizons, exploring how to make backgrounds transparent in Paint.NET presents an excellent starting point. This platform serves as a gateway to another realm of intuitive design capabilities, blending simplicity with powerful editing features. On the other hand, those delving into the niche of personalized crafts and projects might find the specialized functionalities of Cricut invaluable, learning how to make backgrounds transparent in Cricut can elevate the customization and precision of your designs. Similarly, for designers and photographers on the move, Adobe Photoshop Express (Mobile) offers a robust solution for on-the-go editing, including how to make backgrounds transparent in Adobe Photoshop Express (Mobile). Each of these platforms extends the creative toolkit beyond FireAlpaca, enabling artists and designers to select the most fitting application for their project's specific requirements, ensuring their artwork shines across all mediums.
Conclusion
Creating a transparent background in FireAlpaca is a key skill in your digital artistry toolkit. This easy-to-follow guide has given you a comprehensive walkthrough of this process. While it may require some practice, the more you experiment with FireAlpaca, the more comfortable you'll get with all its functionalities.
We hope this guide proves invaluable in your quest to understand how to make a transparent background in FireAlpaca. Remember, the best way to master a tool is to explore and practice, so don't hesitate to experiment and push boundaries with FireAlpaca.
Frequently Asked Questions
Why can't I see the transparency in my saved image?
If you can't see the transparency in your saved image, make sure you saved it in PNG format. Other formats, like JPEG, do not support transparency.
How can I make my Magic Wand selection more precise?
If you're having trouble with the Magic Wand tool's selection, you can adjust the 'Color margin' slider in the tool settings to change its sensitivity.
Can I make a layer transparent in FireAlpaca?
Yes, you can make a layer transparent by adjusting the 'Opacity' slider in the layer panel to your desired level of transparency.
Why can't I see the checkerboard pattern after I press 'Delete'?
If you can't see the checkerboard pattern (indicating transparency) after pressing 'Delete', there might be another layer underneath that is showing through. Try hiding or deleting unnecessary layers.
Can I restore the transparency once I've filled it with color?
Yes, you can restore transparency by selecting the area you want to make transparent and pressing 'Delete'. Just ensure the 'Preserve Opacity' box in the layer panel is unchecked.


